In this guide we will show you just how easy it is to remove more than 75% of the dirt from your brother scan and cut mat and give it a whole new life. Maintaining your mats too a high standard can save you loads of money in the long run.
For this task we Highley recommend the brother mat scraper which is a really useful piece of kit and can help you extend the life of your mats by a very long time. The small investment will pay off 10 fold! Get the best price on the brother mat scraper by clicking here.
There is also a really great video guide we found for you on how to clean your scan and cut mat at the bottom of this page, as well as a link to our guide on re-sticking your mat.
The steps
- Scrape the mat to remove large pieces of dirt
- Wipe down the mat to remove dust and dampen
- Re-scrape the mat to remove exes moisture and remaining dirt
- Allow the mat to air dry for 24 hours
Whilst crafting your mats will collect dust and will start to lose some of there stickiness this is a nightmare considering the price of replacing your mats.
This is also completely inevitable but don’t worry we have the solution.
Step 1.

Use the brother mat scraping tool to remove any larger pieces of dirt or debris from your mat.
Work in straight lines from right to left and try not to make too many passes as we want to maintain as much of the stickiness as possible.
Flip your mat to landscape and repeat.
Step 2.

Use an alcohol free wet wipe to remove some of the dust and dampen the mat.
Work in circular motions starting in the right bottom corner and don’t scrub the mat apply gentle and even pressure though out.
Repeat 2 or 3 times until you feel the mat is starting to look cleaner.
An additional method is to use a small spritz bottle with warm water and a tiny drop of dish soap.
If using this method be sure not to over wet your mat as this will mean longer drying times as well as less stickiness after drying.
Step 3.

Use your brother mat scraper to remove any exes moisture and the remaining dirt.
Again flip to landscape and repeat.
Step 4.

Leave your mat to air dry for 24 hours and a lot of the stickiness will have returned.
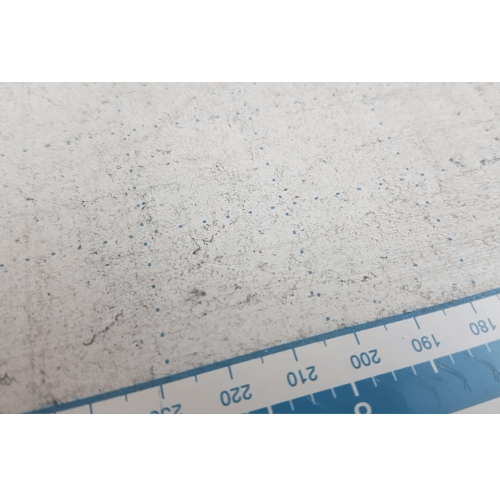
As you can see in the picture we have managed to remove more than 75% of the dirt using this cleaning method and this can prolong the life of your mats by a very long time.
That’s it its that easy you now have a beautifully clean scan and cut mat ready to go for your next project! Not sure what to make next? Check out our top 11 unique projects to do with your scan and cut by clicking here.
An additional benefit of cleaning your brother scan and cut mat is that if your machine isn’t recognising your mat by removing any dirt or derbies that are covering the recognition dots this is likely to fix the issue and save you some money on replacing your mat.
Additional Care Tips For Your Scan And Cut Mat
- Always store your mats with the protective sheet affixed
- Don’t fold or bend the mats for storage
- Store your mats at room temperature and out of direct sunlight
You can further extend the life of your mats by giving them a deep clean simply wash with water and dish soap and then follow our simple guide to making the sticky again.
If you found this guide useful you may also like our guide on how to re-stick your cutting mat.
Thanks for taking the time to read this guide, please leave a comment if you found it useful!


