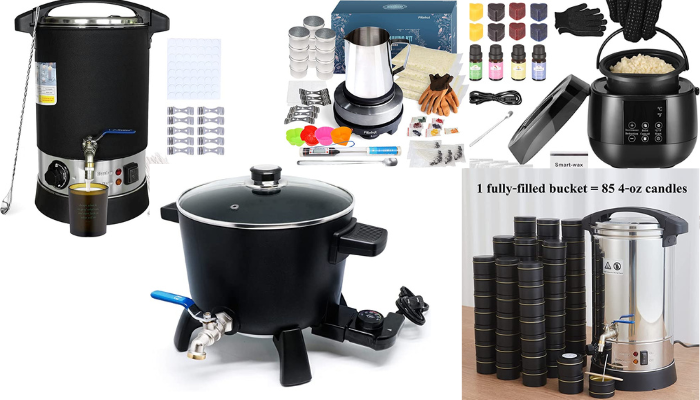
Candles are a simple way to add a touch of elegance and sophistication to any setting. And, with these 11 unique candle craft projects, you can take your candles to a whole new level!
If you’re looking for a unique candle craft project, this roundup is for you! From simple projects like painting a candle jar to more complex ideas like making a scented soy candle, there is something for everyone. So grab some candles and get crafting!
Before we jump into our list of candle making project ideas, lets answer a few common questions.
What Do You Need For Candle Craft?
To get started with any of these projects, you will need some supplies. We have a full guide on Candle Craft Essentials, Check it out by clicking the link.
How Do You Melt Wax For Candle Making?
The process of melting wax is called “sizing”. There are a few ways that you can size wax, but the most common method is to use a double boiler. (More info on double boilers in our Candle craft essentials article)
What Is The Best Wax For Candle Making?
There are many different types of wax that can be used for candle making, but the most common type is paraffin wax, and that’s what is used for the projects in this list unless otherwise specified.
Now that we’ve got the basics out of the way, let’s jump into our list of candle craft ideas!
1. Painted Candle Jars
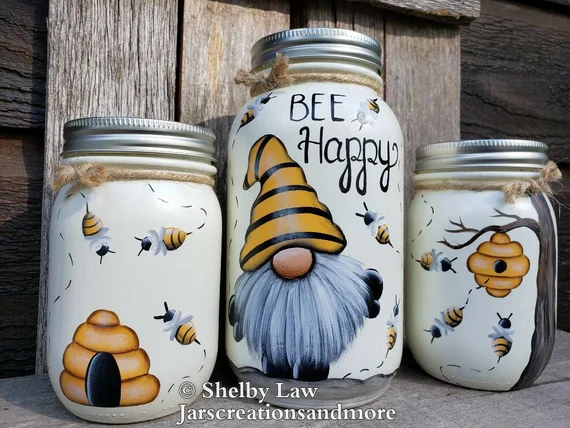
This first project is a simple one that anyone can do. All you need is a glass candle jar and some paint. You can use any type of paint that you like, but we recommend using acrylic paint.
To get started, clean the jar with soapy water and make sure that it is completely dry. Then, start painting! You can either freehand a design or use stencils to create a more polished look.
Once you’re finished painting, let the jar dry completely. Then, add a candle or your wick and wax and enjoy your new creation!
2. Glittery Homemade Candles
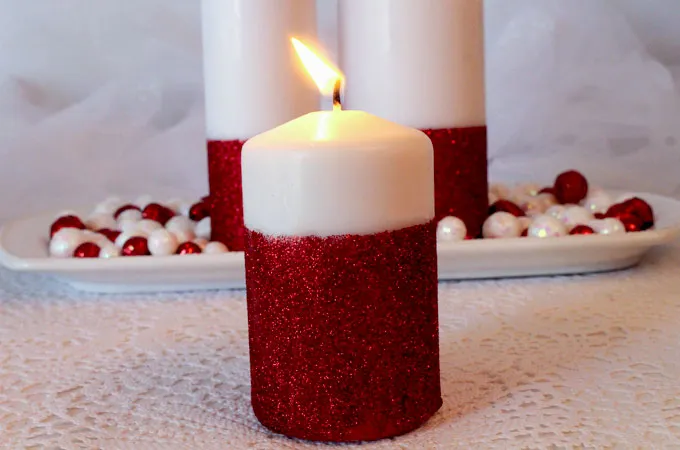
If you love glitter,(Like us!) this project is for you! For this project, you will need a candle (any size or shape will do), glitter, glue, and a paintbrush.
Start by coating the candle with glue using the paintbrush. Then, cover the glue with glitter. We recommend using a tray or something similar to catch the excess glitter.
Let the candle dry completely before lighting it. And be sure to keep it away from any open flames, as the glitter could ignite.
3. Ombre Candle Crafts
Ombre is a popular design trend that you can easily recreate with candles! For this project, you will need a candle (any size or shape), crayons, and a lighter.
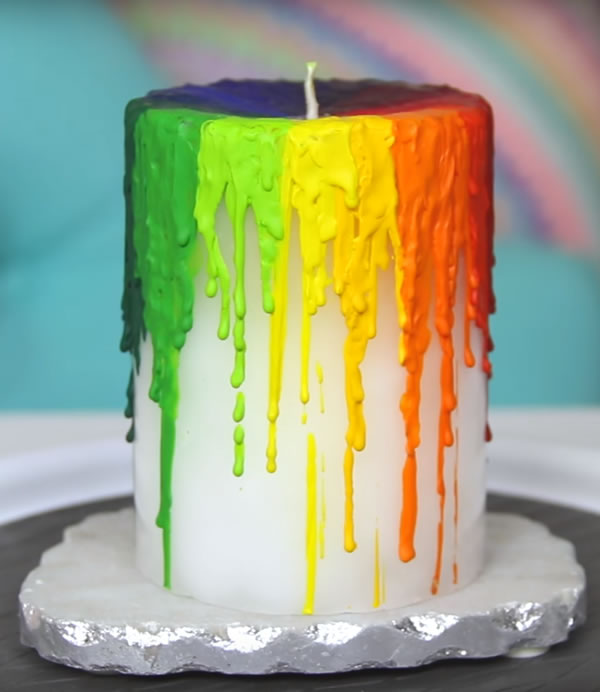
Start by peeling the paper off of the crayons. Then, use the lighter to melt the tips of the crayons. Hold the candle close to (but not touching) the melted wax and allow it to drip down the side of the candle.
Repeat this process with as many colours as you like until you’re happy with the results. Let the wax dry completely before lighting the candle.
4. Poured Mason Jar Candles
This next project is a bit more complicated, but it’s definitely worth the effort! For this one, you will need a mason jar, wax, wicks, a pencil, scissors, a glue gun, and a double boiler.
We love this one because there are so many opportunities when it comes to decorating simply add pressed flowers to the edges of you mason jar before pouring the wax for a stunning one of a kind candle.
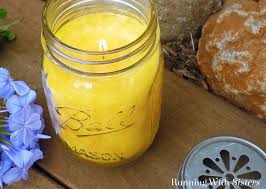
Add a ribbon around the top of the jar,( be sure it will be away from the flame once the candle is lit) and the name of someone special to the lid. The perfect gift!
Start by heating the wax in the double boiler. While the wax is melting, cut the wicks to size and glue them to the bottom of the mason jar using the glue gun.
Once the wax has melted, carefully pour it into the mason jar, being sure to stop before the wax reaches the top of the wick. Allow the candle to cool and harden completely before trimming the wicks and using it.
5. Citrus Peel Candles
This next project is a great way to up-cycle citrus peels! And get a beautiful natural scent. For this project, you will need citrus peels (lemon, lime, orange, etc.), a knife, candles, and a double boiler.
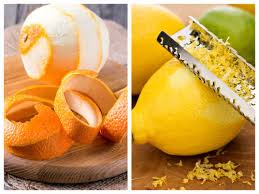
Start by carefully cutting the peel away from the fruit using a sharp knife. You want to make sure that you get as much of the fruit flesh off of the peel as possible.
Once you have your peels, put them in the double boiler and heat them until they’re soft. This will help to release the oils from the peel.
Then, carefully place the peel over the top of a candle. The heat from the peel will melt the wax and allow it to seep into the wax..
Let the candle cool completely before trimming the wick and lighting it. The beautiful citrus scent will be released as the candle burns!
6. Coffee Bean Scented Candles

If you love the scent of freshly brewed coffee, then this ones for you! For this project, you will need coffee beans, candles, wicks and a double boiler. (You could add Coffee scented oil for an even better scent)
Start by heating the wax in the double boiler. While the wax is melting, arrange the coffee beans around the outside of the candle.
Pro Tip: Making this candle in layers helps to stop the coffee beans moving when pouring the wax.
Once the wax has melted, carefully pour it over the coffee beans, being sure to stop before the wax reaches the top of the wick. Add some more coffee beans on top to decorate. Allow the candle to cool and harden completely before trimming the wick.
7. Soy Candles
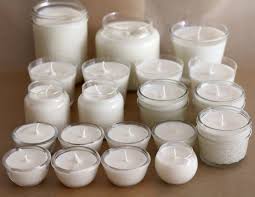
Soy candles are a great alternative to traditional paraffin candles. They’re made from soybean oil, which is a renewable resource, and they burn cleaner than paraffin candles.
For this project, you will need soy wax flakes, wicks, candle jars, and a double boiler.
Start by heating the soy wax in the double boiler. While the wax is melting, prepare your candle jars by adding the wicks.
Once the wax has melted, carefully pour it into the candle jars, being sure to stop before the wax reaches the top of the wick. Decorate the jar or the candle itself, in the same way you would any of the other projects from the list. Allow the candles to cool and harden completely before trimming the wicks and using them.
8. Rainbow Candles
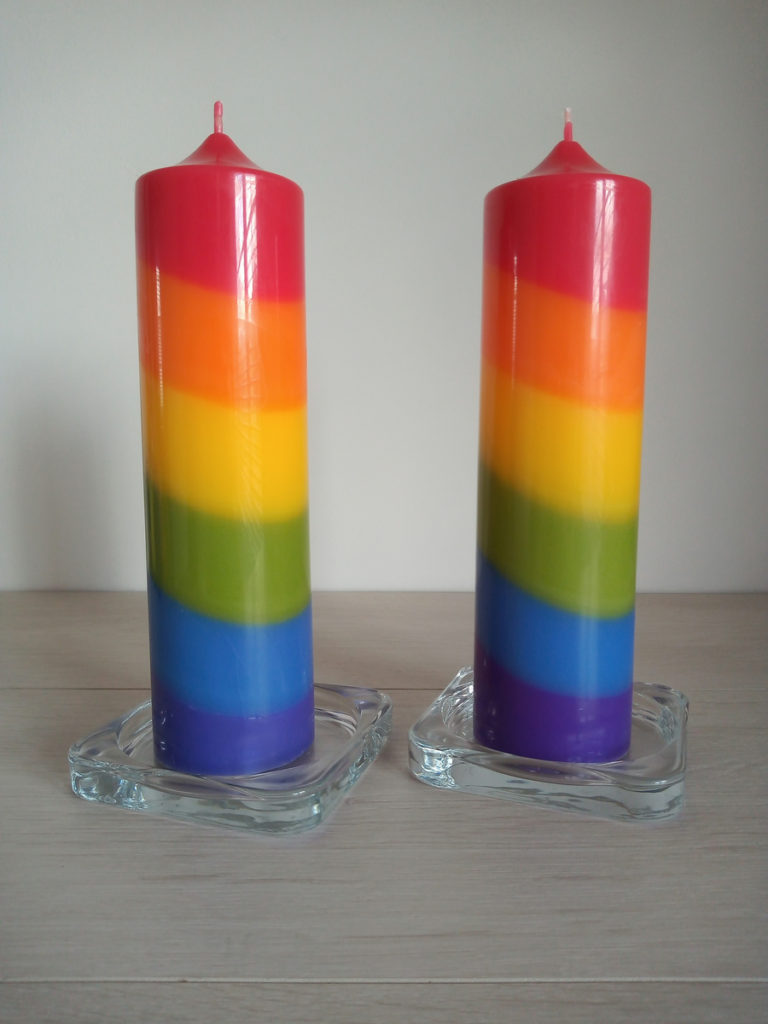
This next project is so much fun, and it’s perfect to do with the kids! For this project, you will need white candles, candle dye, jars of choice and a double boiler.
Start by heating the wax in the double boiler. While the wax is melting, prepare your candle jars by adding the wicks.
Once the wax has melted, carefully pour it into the candle jars, being sure to stop short of the wick . Add a few drops of candle dye to each jar, in as many colours as you’d like. Use a chopstick or something similar to swirl the wax and create a marbled effect. Allow the candles to cool and harden completely before trimming the wicks and using them.
9. Up-Cycled Wine Bottle Candles
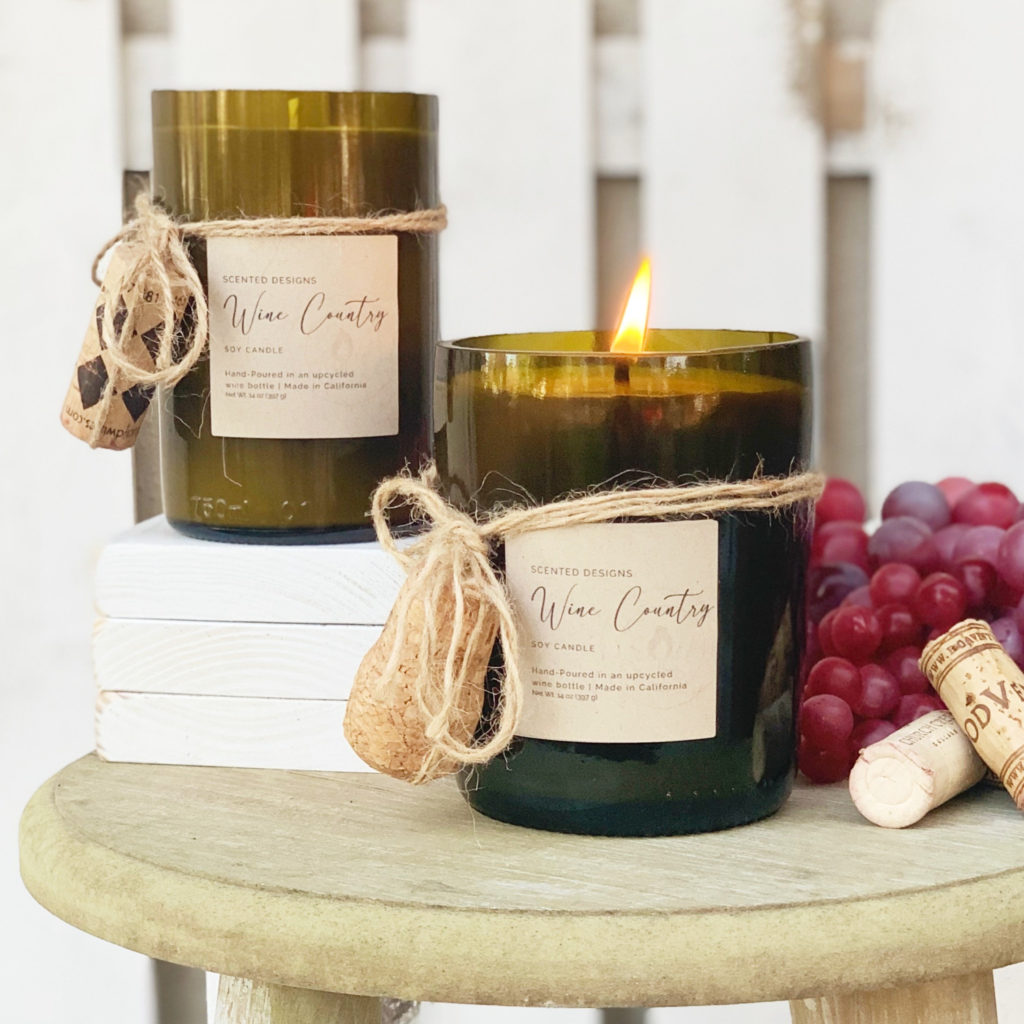
This next project is a great way to up-cycle wine bottles! For this project, you will need an empty wine bottle, candle wax, wicks and a double boiler.
Start by heating the wax in the double boiler. While the wax is melting, cut your wine bottles to the required size.
Once the wax has melted, carefully pour it into the wine bottles, being sure to stop before the wax reaches the top of the wick. Allow the candles to cool and harden for some time before trimming the wicks and using you beautiful up-cycled creations.
Here’s a useful video on cutting wine bottles:
10. Cute Shape Candle Crafts
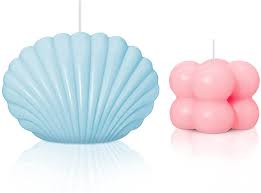
This ones another simple one, but you can still create some really eye catching pieces. Use silicone moulds in any shape you choose to create cute little candles which are perfect for gifts.
Supplies you will need:
- candle wax
- wicks
- silicone moulds
- a double boiler
- Candle die if you want to colour them
Begin by heating the wax in the double boiler. While the wax is melting, prepare your moulds by adding the wicks.
Once the wax has melted, carefully add it into the moulds, being sure to stop before the wax reaches the top of the wick. Allow the candles to cool for some time before removing them from the moulds.
Trim the wicks and enjoy your new candles!
11. Floating Candles
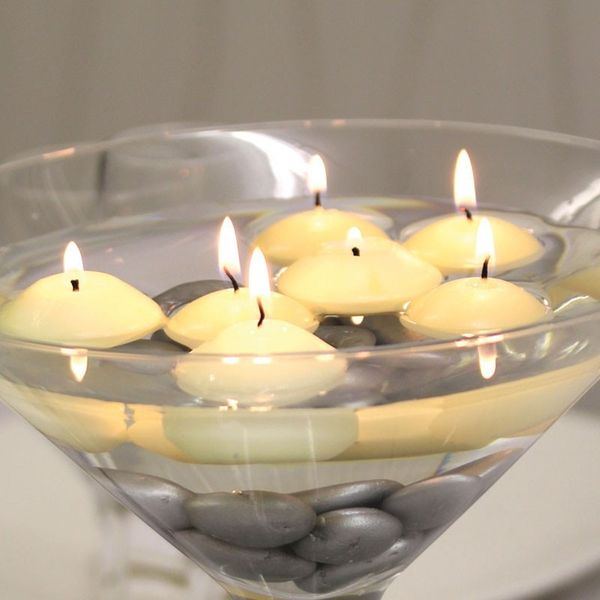
Floating candles are a really elegant way to decorate for any event, and they’re not as difficult to make as you might think. You will need:
- Candle wax
- Wicks
- A heat proof bowl
- A double boiler
- Your scented oil of choice
Start by heating the wax in the double boiler. While the wax is melting, prepare your bowl by adding a few drops of scented oil.
Once the wax has melted, carefully pour it into the bowl, being sure to stop before the wax reaches the top of the bowl. Allow the candles to cool and harden for some time before trimming the wicks and using them.
That’s it for this list! I hope you enjoy trying out some of these unique candle craft projects.
Below are a few additional points we though you might find useful in you new found love of candle making.
Why Candle Craft?
Crafting your own candles is a great way to save money and get exactly what you want out of a candle. It’s also a fun activity to do alone or with friends, and it’s a great way to relax.
Candles also do really well at craft fairs and as gifts, so if you’re looking for a new hobby that could make you some extra cash, candle making could be it!
I personally know someone making a full time income from candles, crafting centre pieces for weddings and events so there are opportunities to turn your hobby into a business if that’s something you wanted to do!
What Are The Best Fragrance Oils For Candle Making?
The best fragrance oils for candles are those that are specifically designed for candle making. Candle fragrance oils are different from essential oils in that they are already diluted, so you don’t have to worry about them being too strong.
Some of the best candle fragrance oils on the market come from companies like Natures Garden and CandleScience.
You can check out our favourite oils by clicking the button below.
We hope you found our article on candle making useful, if so be sure to check out our Candle Making Essentials article to see what you need and get the best deals!
Why not leave us a comment, telling us which projects your going to try? We love hearing from you!
